
How to Integrate the WeSendit® Widget on Your Website
In this article, you will learn how to set up the WeSendit® widget to offer file transfers directly through your own website. We will guide you step-by-step through the configuration process so your customers can send files securely without leaving your site.
1. Benefits of the WeSendit® Widget
The integration provides a seamless user experience, strengthens your brand identity through professional branding, and guarantees maximum security through Swiss data protection standards. You will be automatically notified as soon as an upload is completed.
2. Prerequisites for Use
- Subscription: You need a Pro or Business plan.
- Web3 Users: A verified email address in your account settings is mandatory.
- Domain Matching: The target URL must match the domain of your registered email.
3. Step-by-Step Setup
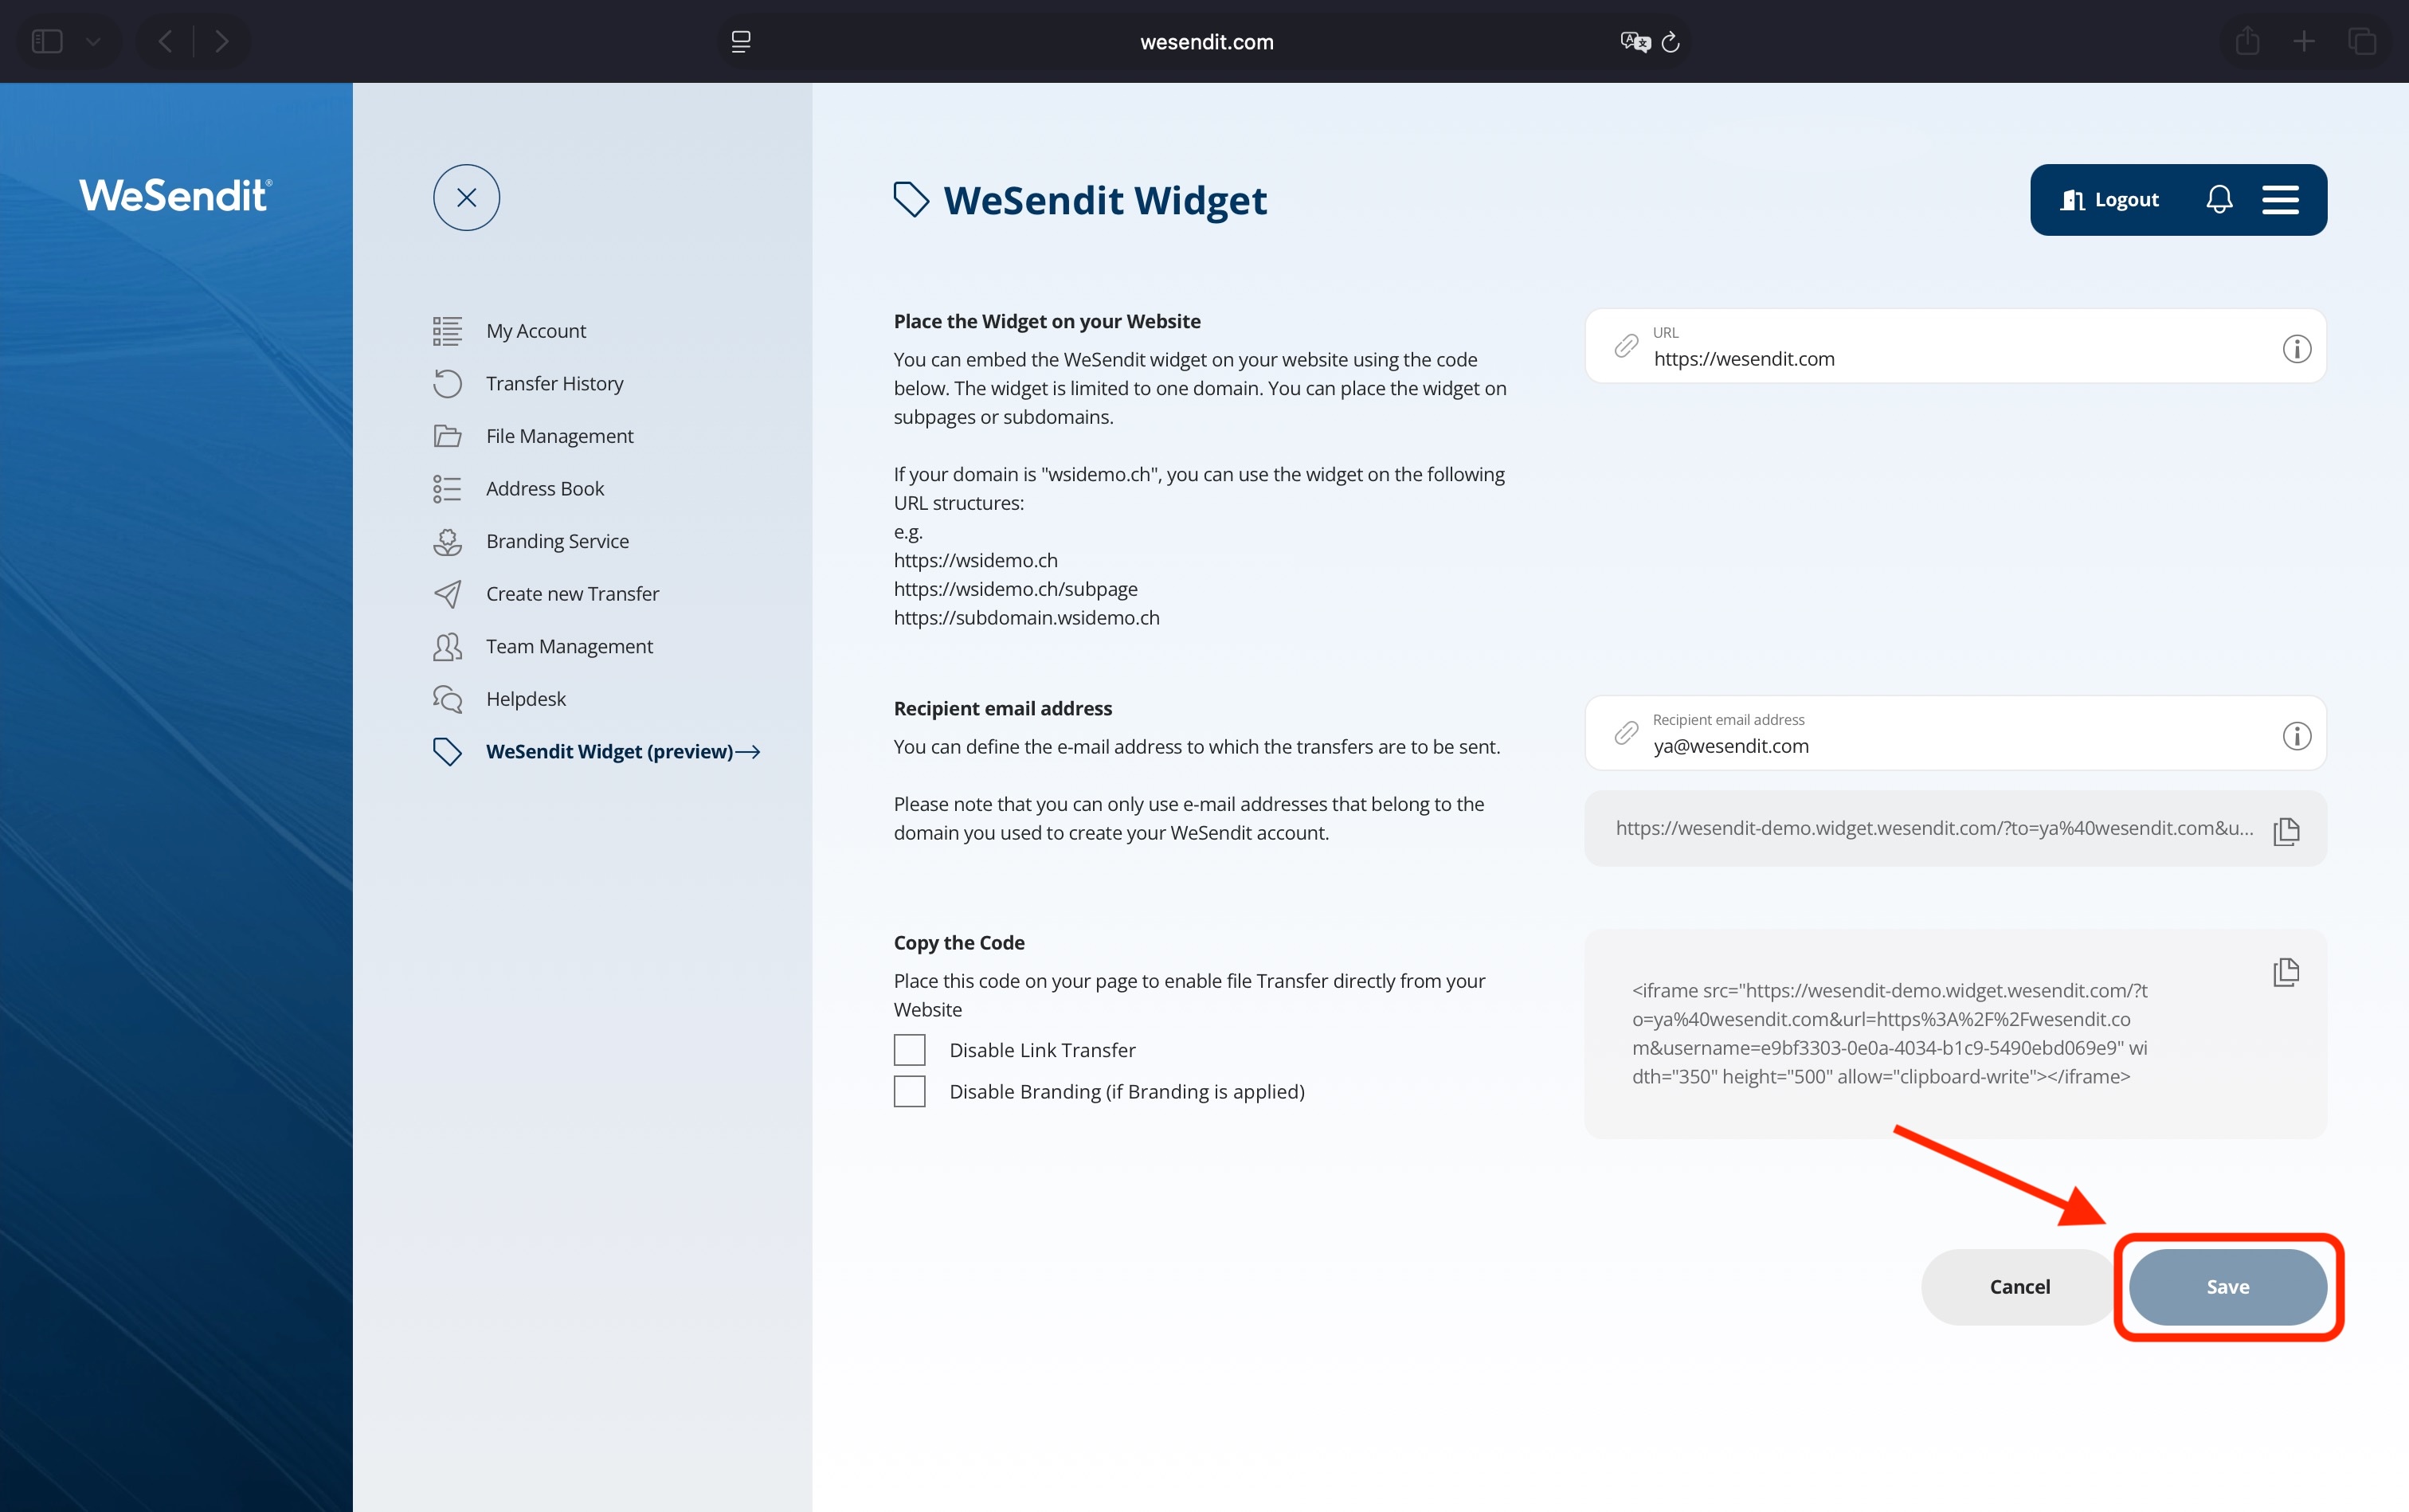
- Log in to your account and select "WeSendit Widget" from the menu.
- Enter your website URL under "URL address" (e.g.,
https://yourdomain.com). - Enter the target email for upload notifications under "Recipient E-Mail Address".
- Optional: Deactivate "Link Transfer" if you only want direct email deliveries.
- Click "Save" to apply the settings.
4. Integration into Your Website
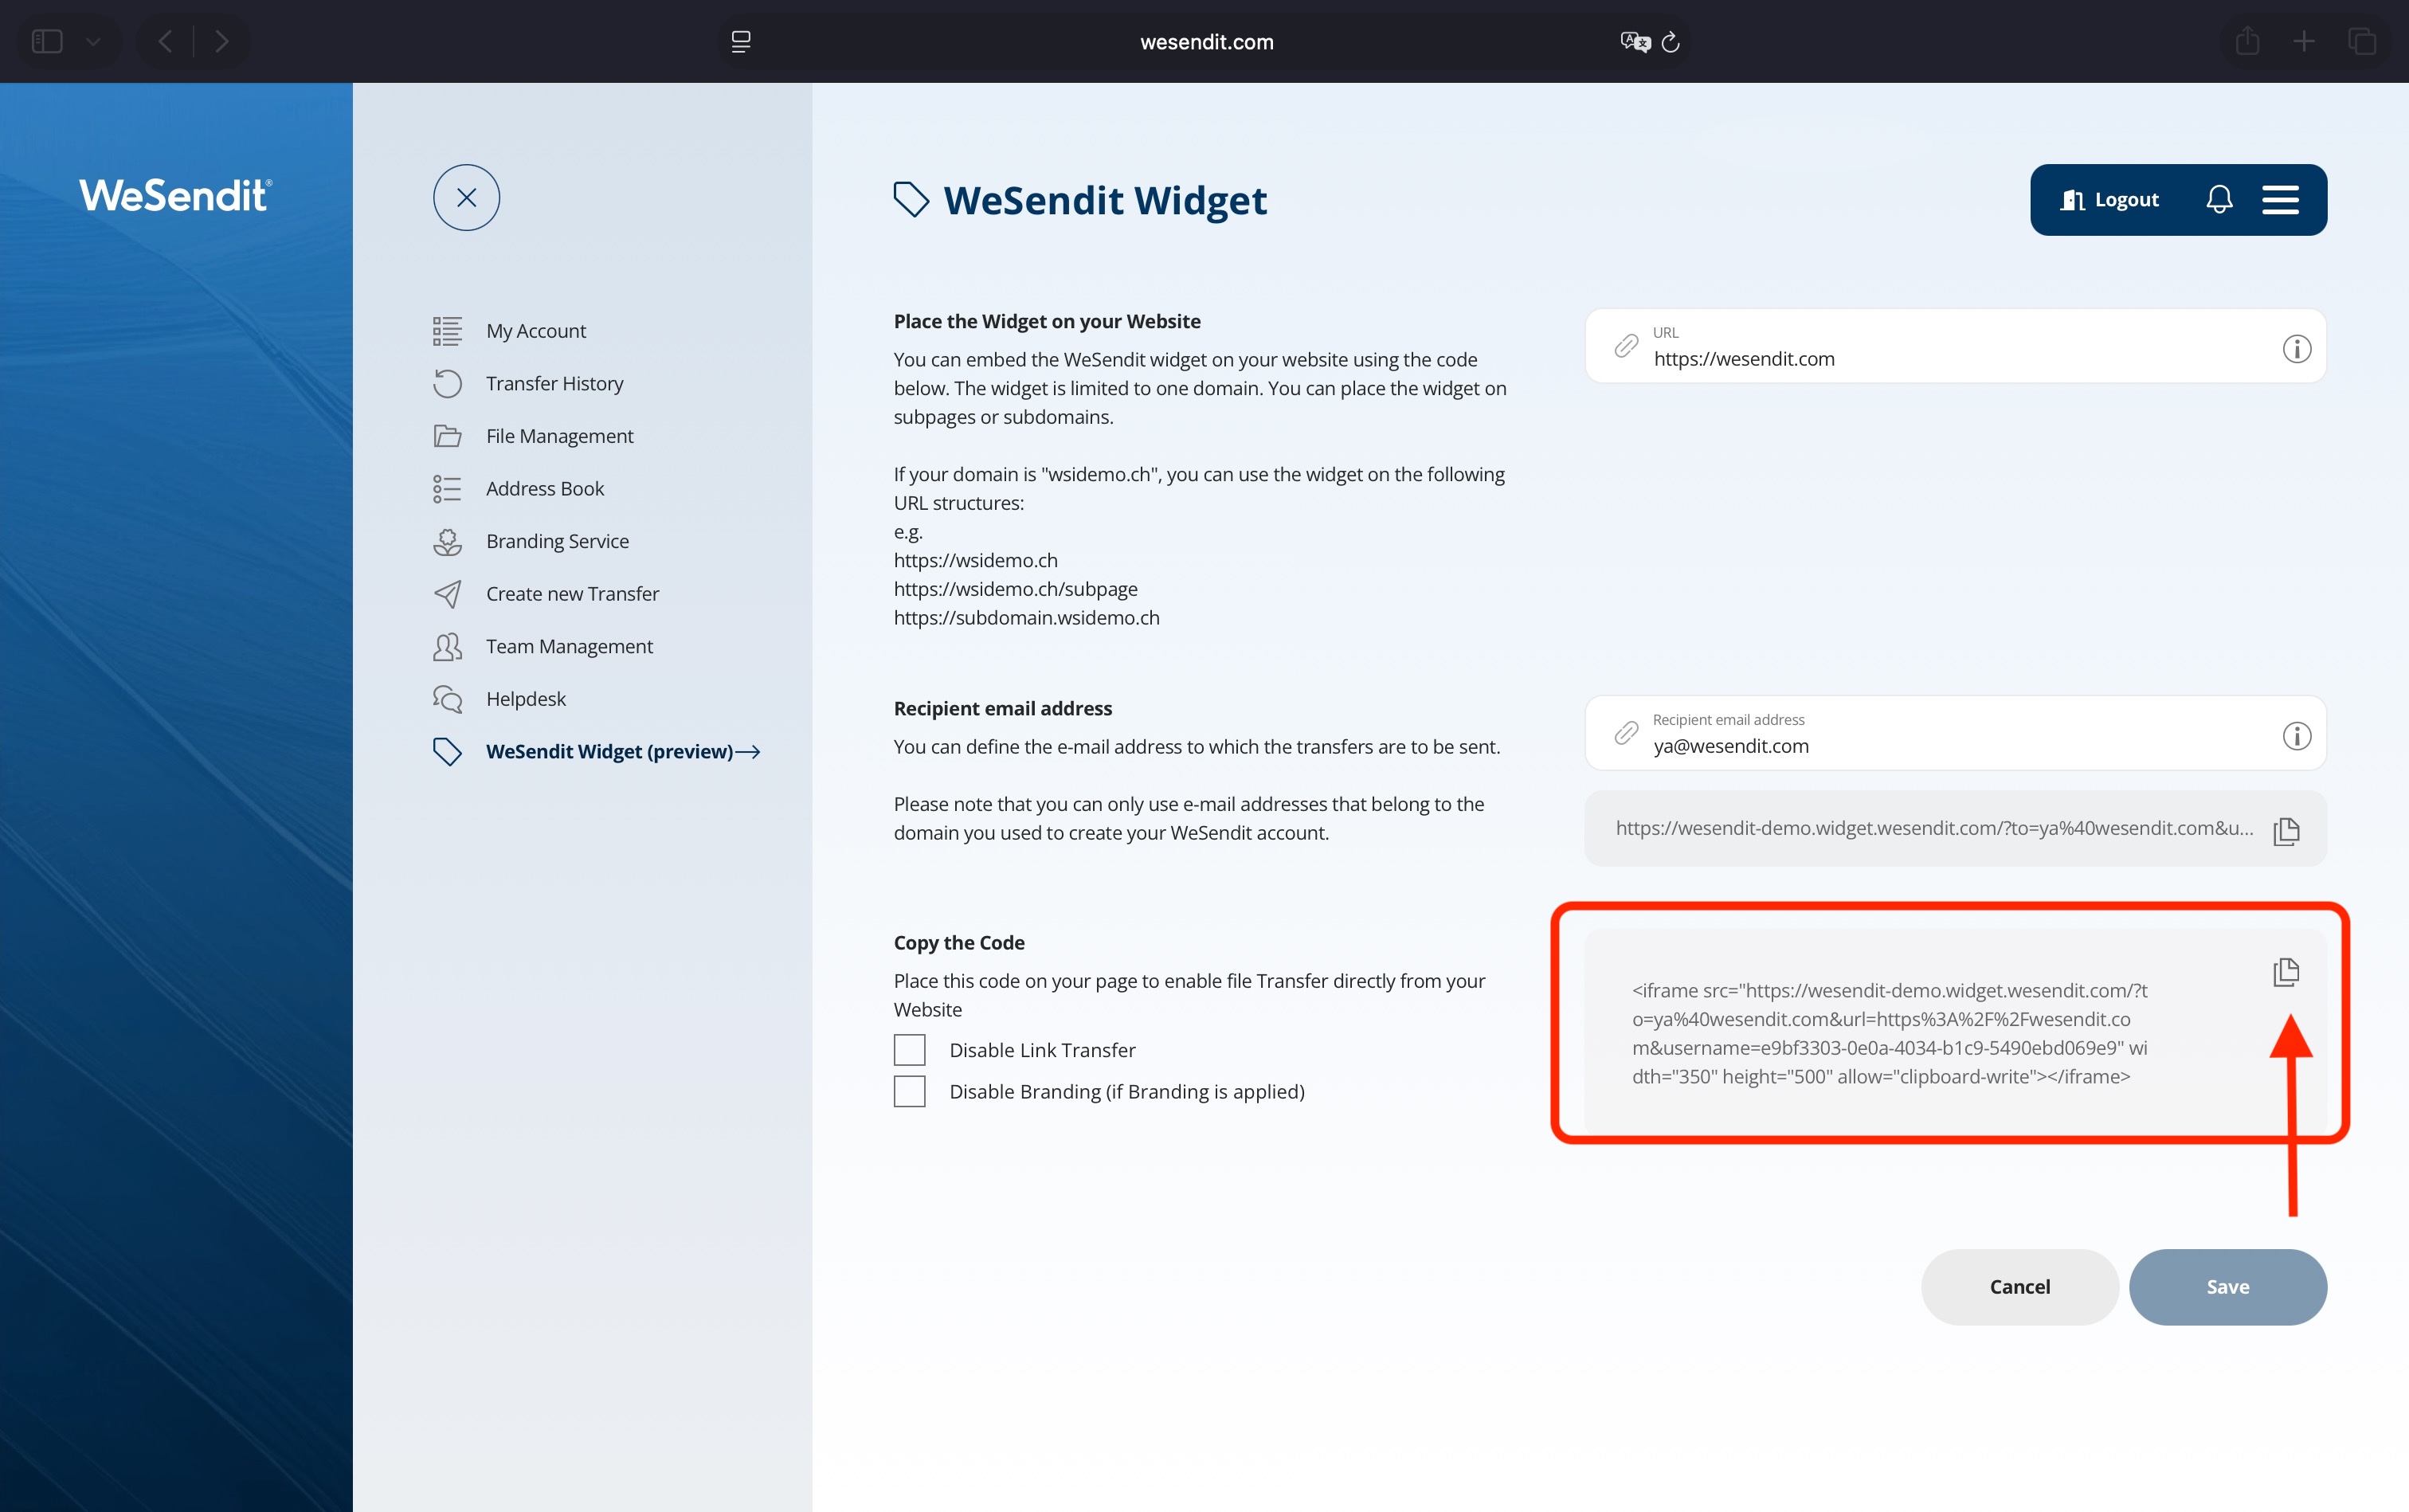
- Copy the generated iFrame code from the "copy the code" field.
- Paste this code into the HTML source code of your website at the desired location.
- Test the integration with a sample upload to verify that you receive the notification.
Conclusion Congratulations! Your WeSendit® widget is now ready. Your users can now send files directly and securely to you.
Still have questions?
Feeling a bit overwhelmed? That’s completely normal especially in the beginning. If anything remains unclear after browsing our Help Center, don’t hesitate to reach out. Our support team is always here to help you.